MetaMask Configure PlatON/Alaya Network
What is MetaMask#
MetaMask is a wallet extension application embedded in the browser, which helps you interact with decentralized applications (dApps).
MetaMask allows you to easily access the Ethereum network and add other public chains compatible with the EVM.
Why PlatON|Alaya uses MetaMask#
MetaMask, the most widely used browser plug-in wallet on the market, is well-received in the community.
To lower the threshold for community users, PlatON | Alaya is compatible with the core tools of the Ethereum ecosystem, including MetaMask, after its upgrade to the Ethereum-compatible version.
MetaMask makes operations such as transfer, signing, and contract interaction more convenient.
Notices#
The address generated via MetaMask starts with 0x, that is, one in the Ethereum format. To view the address in the PlatON|Alaya format, please check in PlatON|Alaya.
PlatON MainNet:https://scan.platon.network/
PlatON DevNet3: https://devnet3scan.platon.network/
Alaya MainNet:https://scan.alaya.network/
Alaya DevNet: https://devnetscan.alaya.network/
Mnemonics of ATON and those of MetaMask are incompatible with each other as they are generated through different paths. Private keys are compatible.
MetaMask cannot be called by WASM contracts, but EVM contracts only.
Starting from PlatON version 1.3.0 (effective time 2022.11.9,For details see:https://forum.latticex.foundation/t/topic/6548 ), PlatON MainNet has been completely switched to ChainID: 210425, the original ChainID: 100 is no longer supported!
This document will guide you through PlatON | Alaya network configuration using MetaMask.
MetaMask installation and use#
There are many detailed introductions about the installation and use of MetaMask on the Internet, hence no need of further elaboration.
You may refer to:
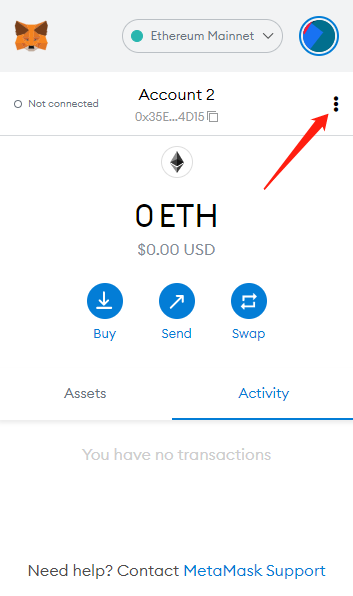
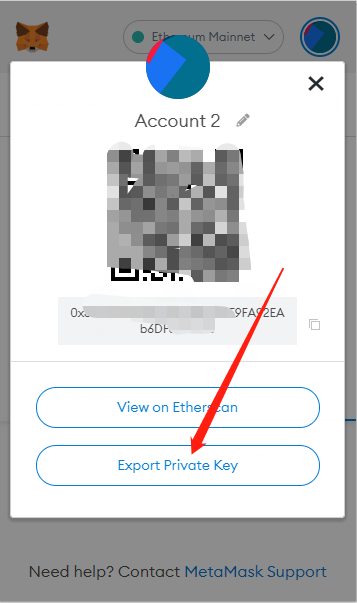
After creating a wallet using MetaMask, you're advised to back up the private key of the wallet so that it can be imported into ATON for later use.
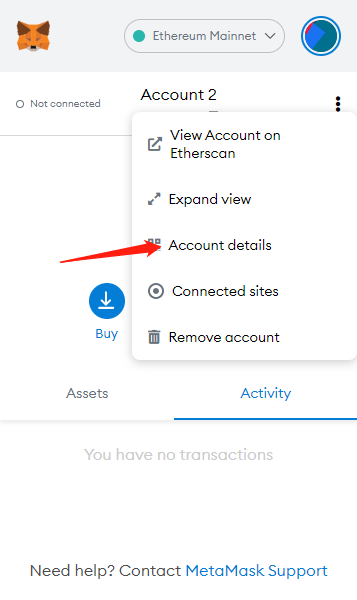
Steps of backup:
How to manually add PlatON network#
PlatON MainNet#
First, you need to install a MetaMask plugin on your Chrome browser.
Then register the wallet and save your mnemonics and private key.
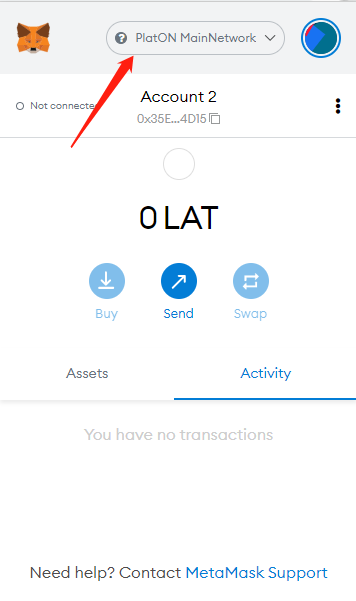
Then click the drop-down menu in the upper right corner.
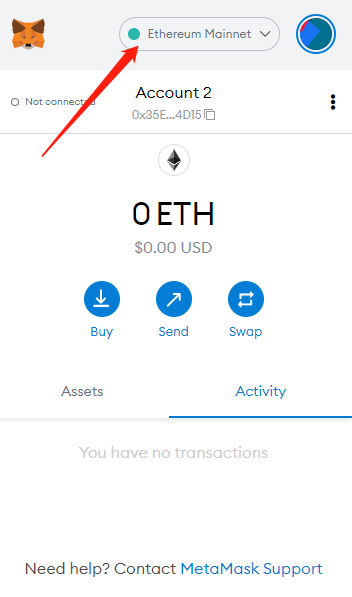
Then scroll to the end and click "Add Network"

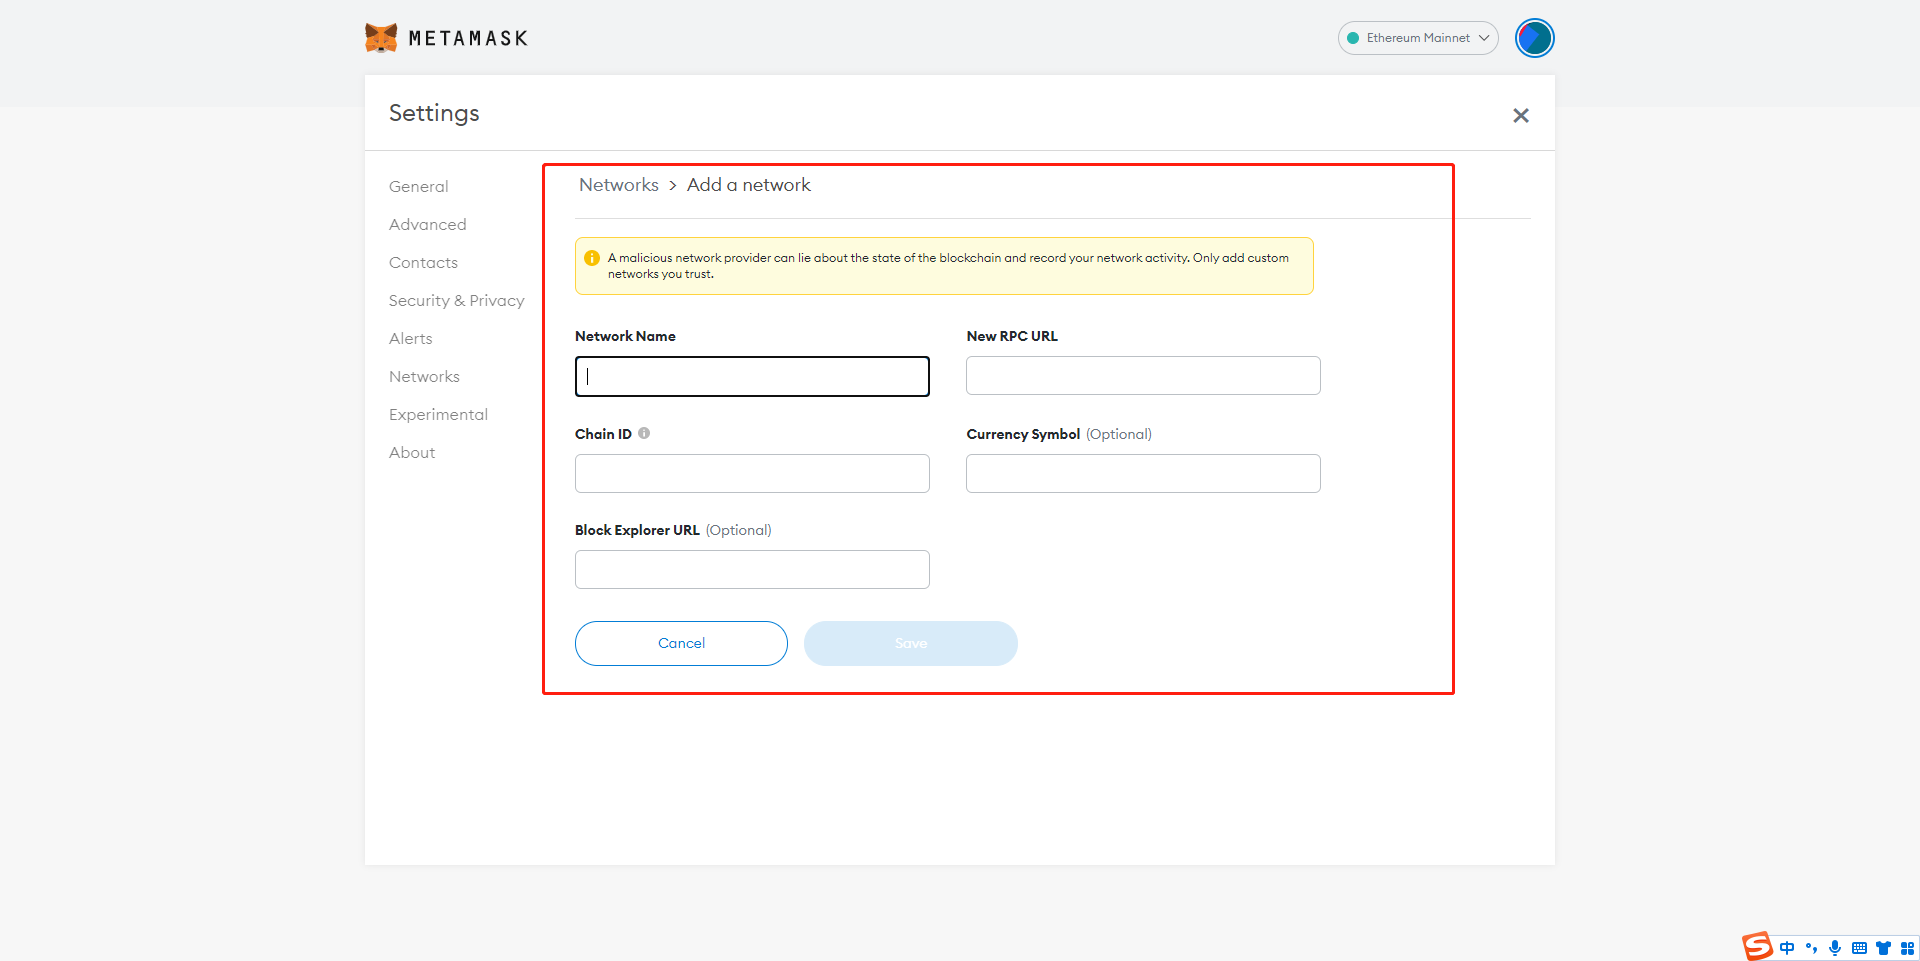
Fill in the above information one by one. The configuration content is as follows:
- PlatON ChainID:210425 Configuration Information ( Recommended )
Network Name: PlatON MainNetworkNew RPC URL: https://openapi2.platon.network/rpcChain ID:210425Currency Symbol:LATBlock Explorer URL: https://scan.platon.network/- PlatON ChainID:100 Configuration information -- Disabled
Network Name: PlatON MainNetworkNew RPC URL: https://openapi.platon.network/rpcChain ID:100Currency Symbol:LATBlock Explorer URL: https://scan.platon.network/Then click Save and wait for it to finish.
Now, the PlatON MainNet has been successfully added to MetaMask.
You can also transfer assets as usual.
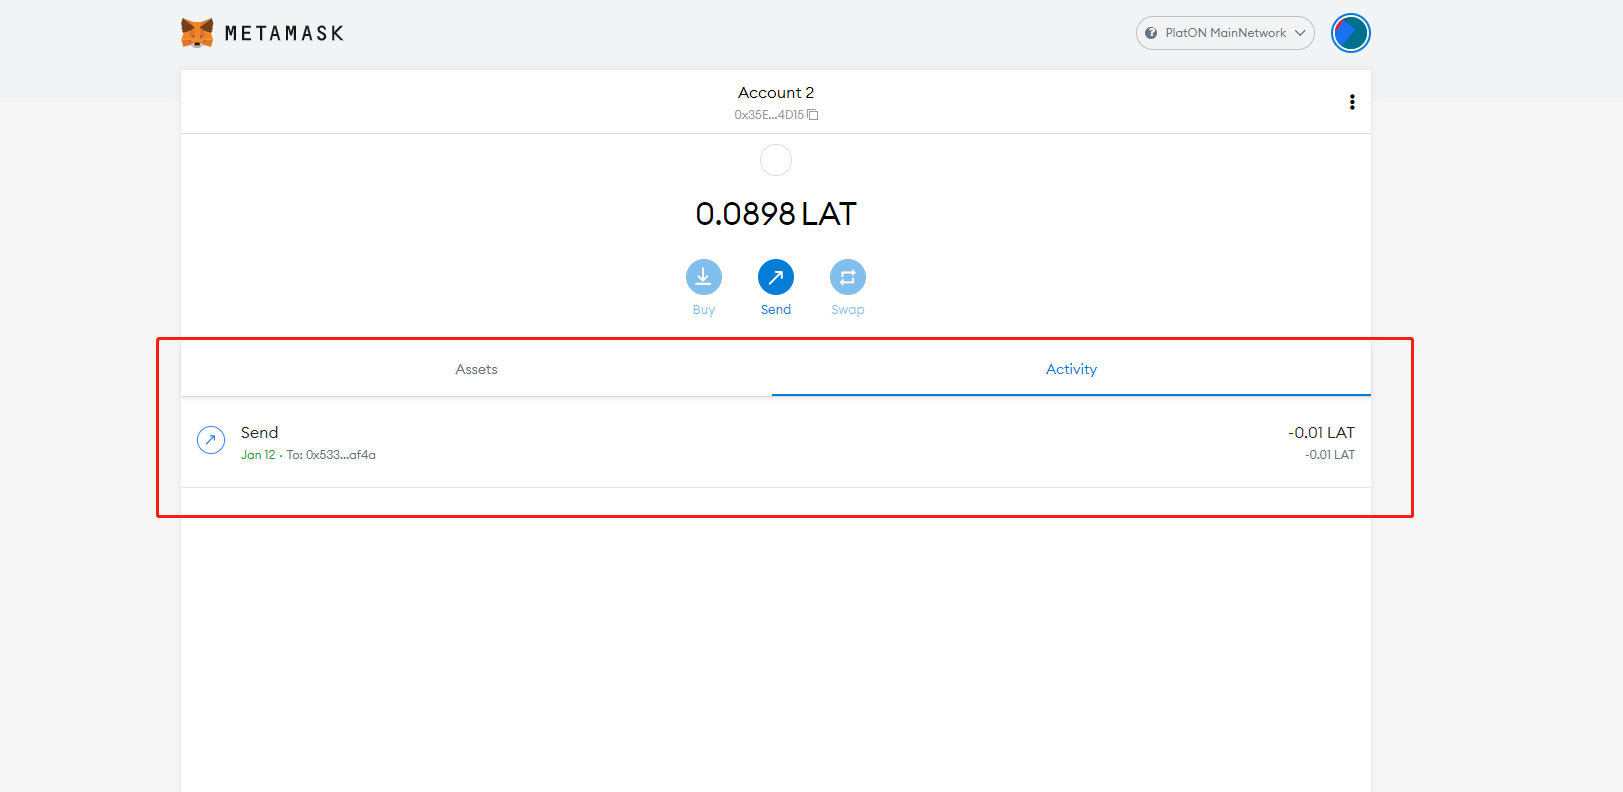
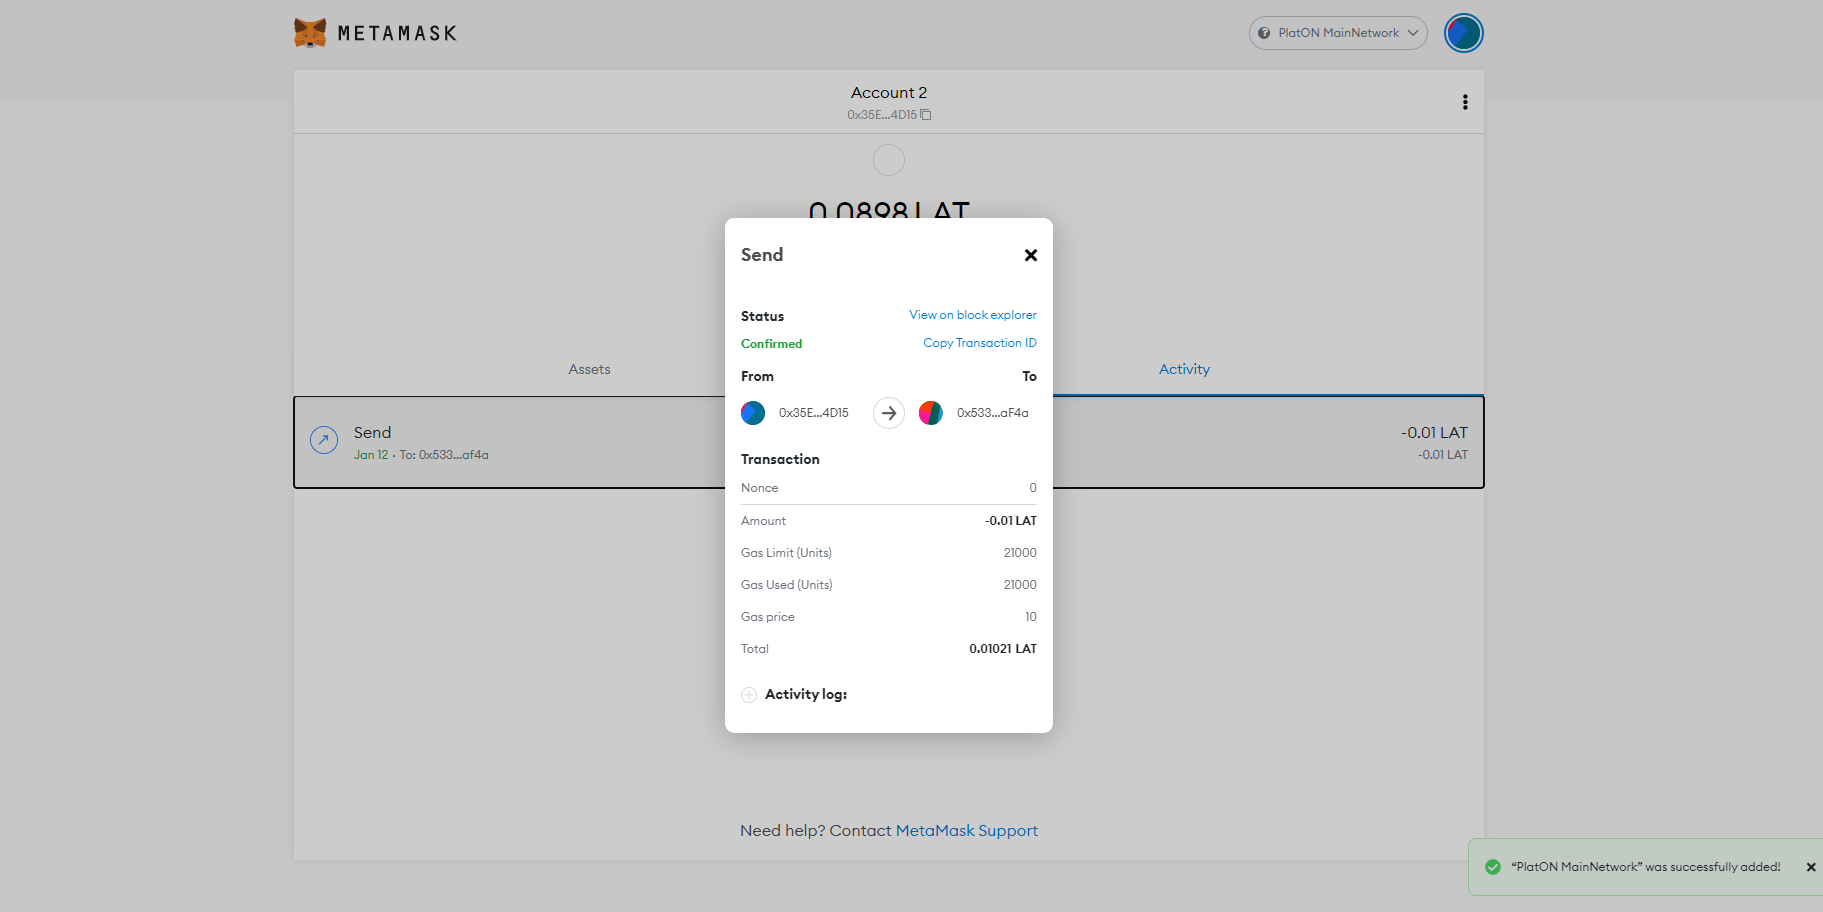
Done! It is worth mentioning that only Hex addresses are supported on the mainnet. In other words, you have a LAT Address and Hex Address in your ATON wallet, and the one that starts with 0x is your Hex address!
PlatON DevNet#
Similarly, you can add and configure the PlatON DevNet3 according to the following information:
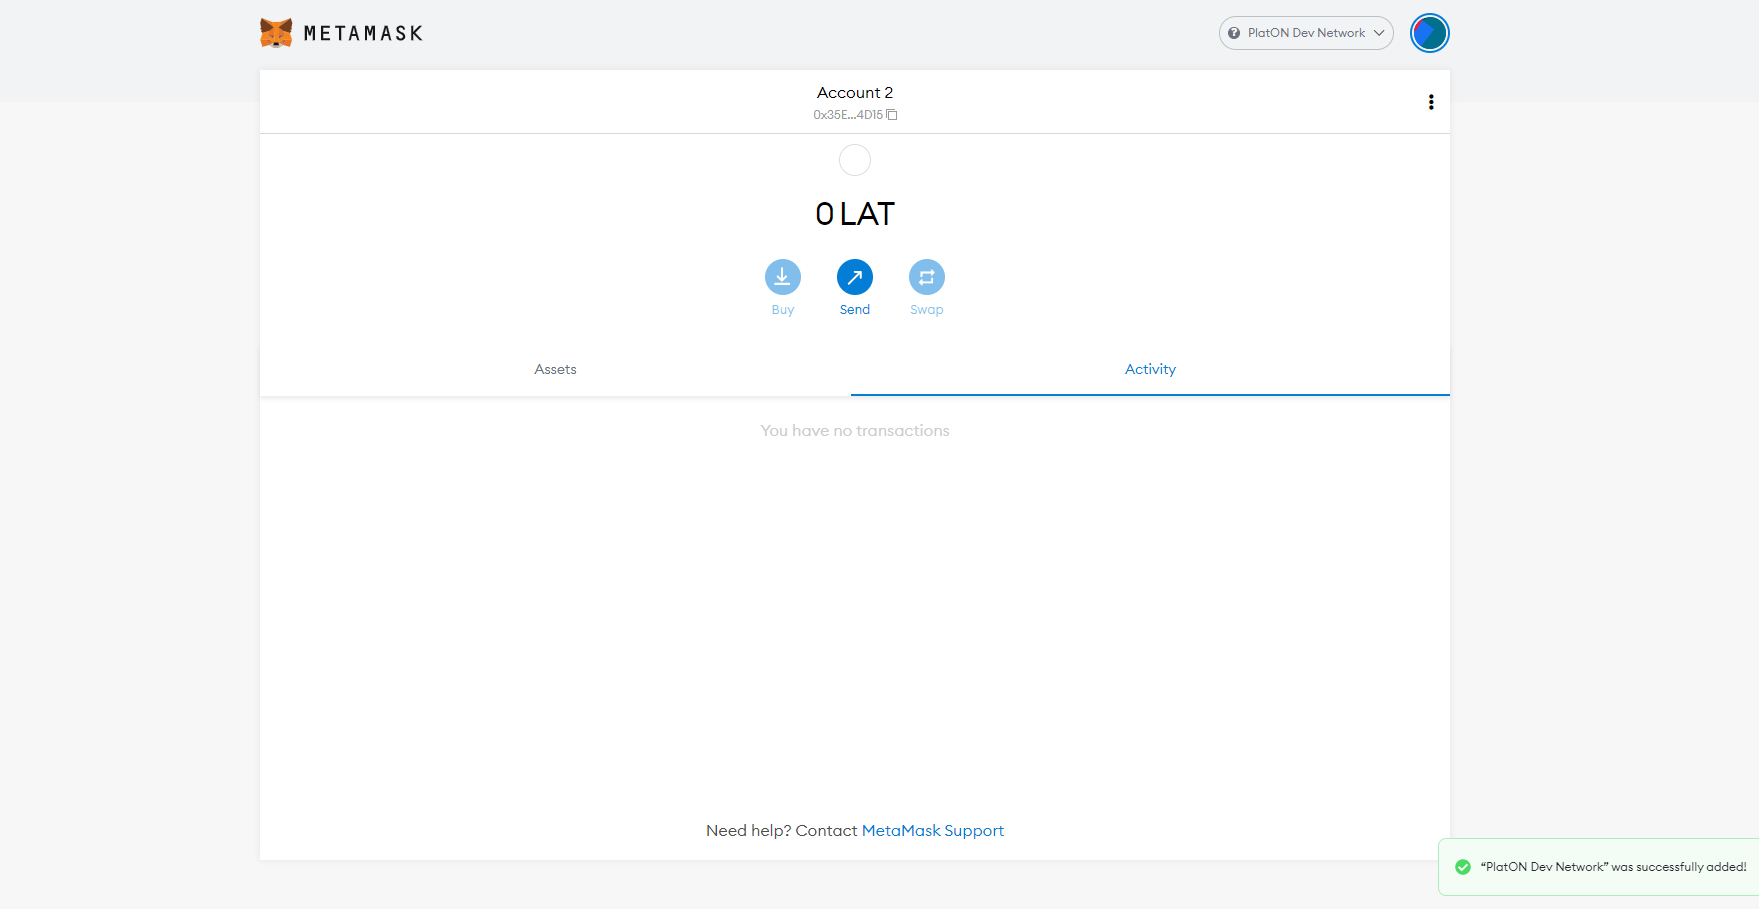
Network Name: PlatON Dev2 NetworkNew RPC URL: https://devnet3openapi.platon.network/rpc OR wss://devnet3openapi.platon.network/wsChain ID:20250407Currency Symbol:LATBlock Explorer URL: https://devnet3scan.platon.network/After the settings are saved, it will automatically jump to PlatON DevNet, and the following will appear:
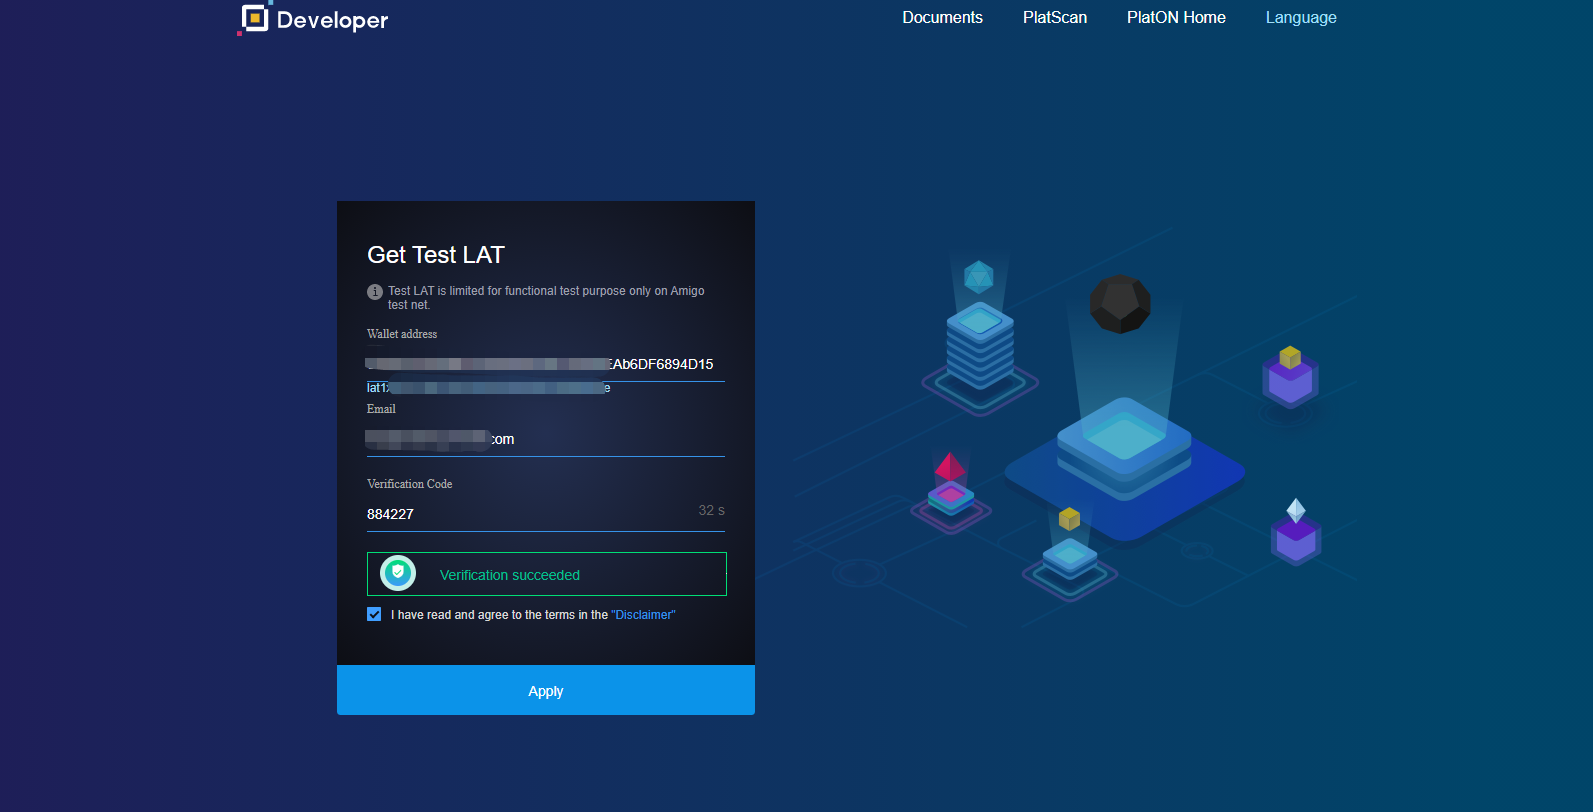
Next, we can apply for test tokens on the PlatON DevNet faucet (https://devnet3faucet.platon.network/faucet) to test the transfer operation.
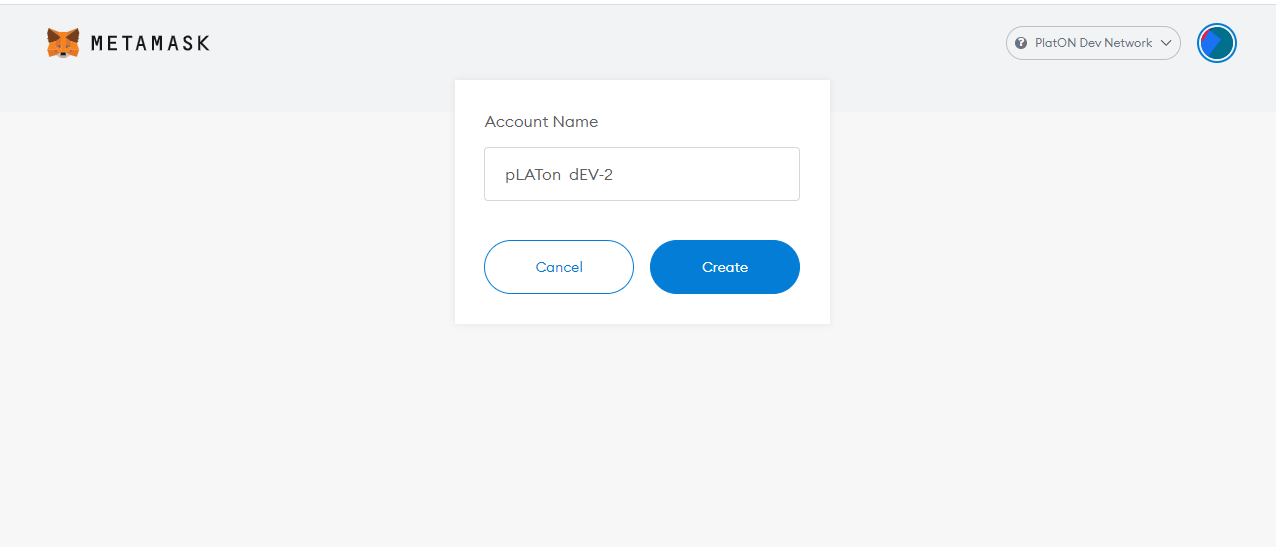
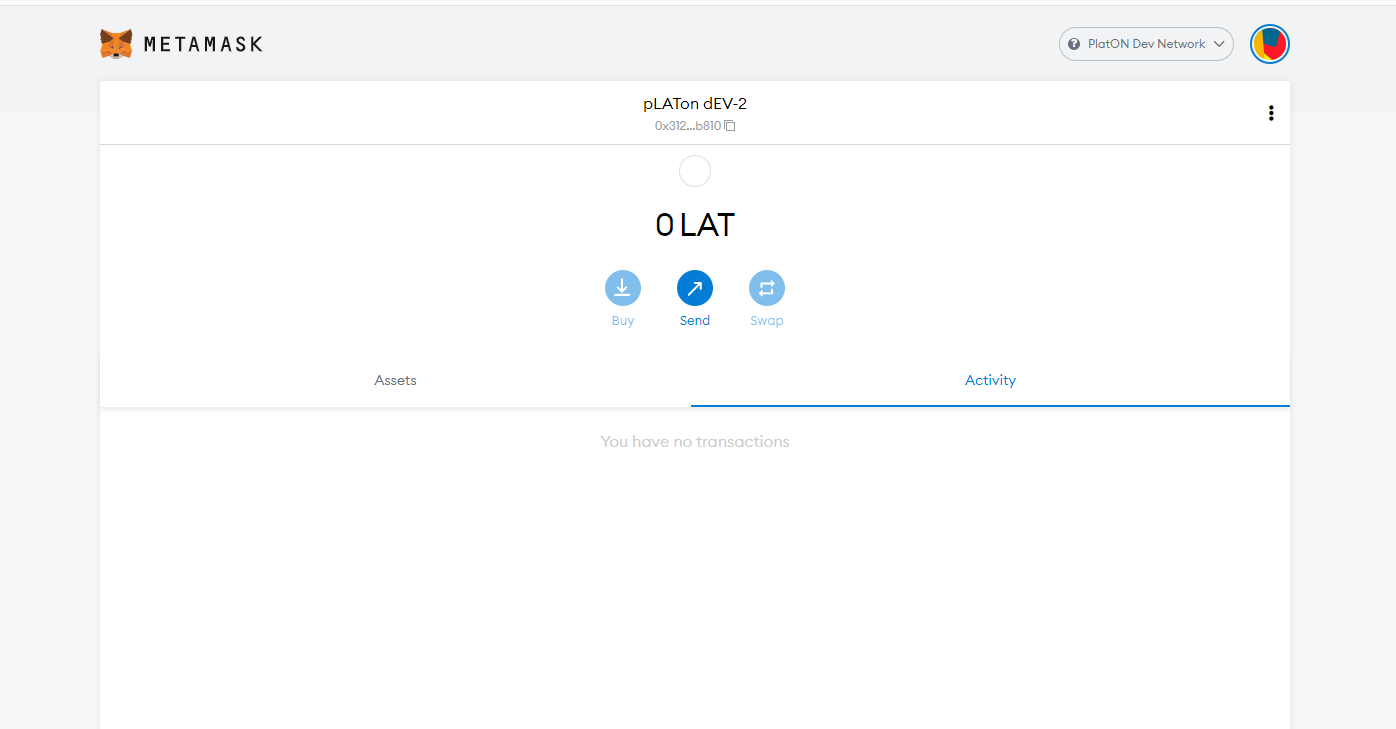
First, we create the No.2 test wallet:
After it is saved, we will see:
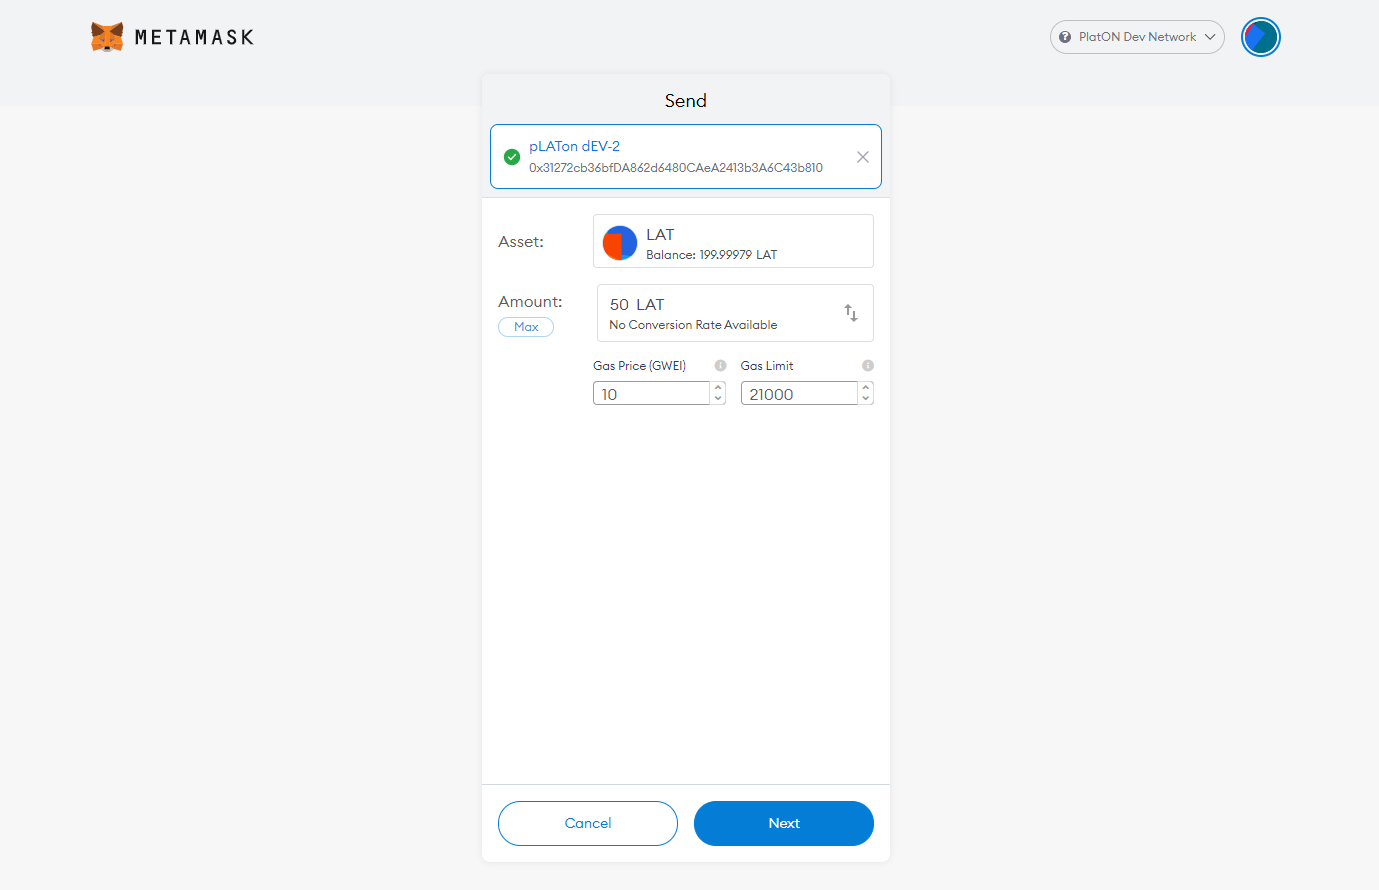
Then we use the No. 1 test wallet to transfer 50 LAT to the No. 2 wallet:
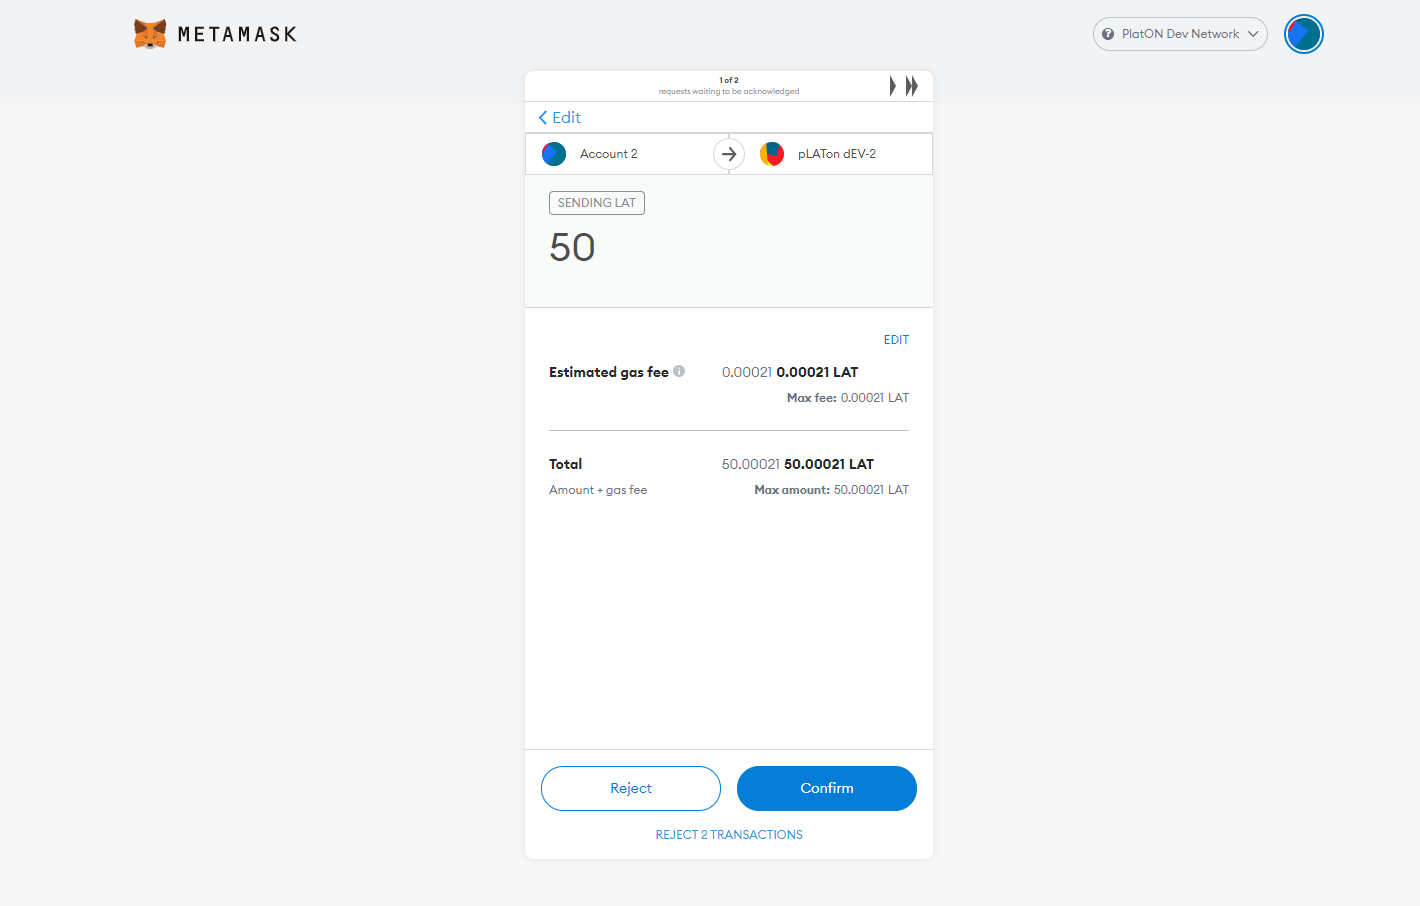
Click "Confirm"
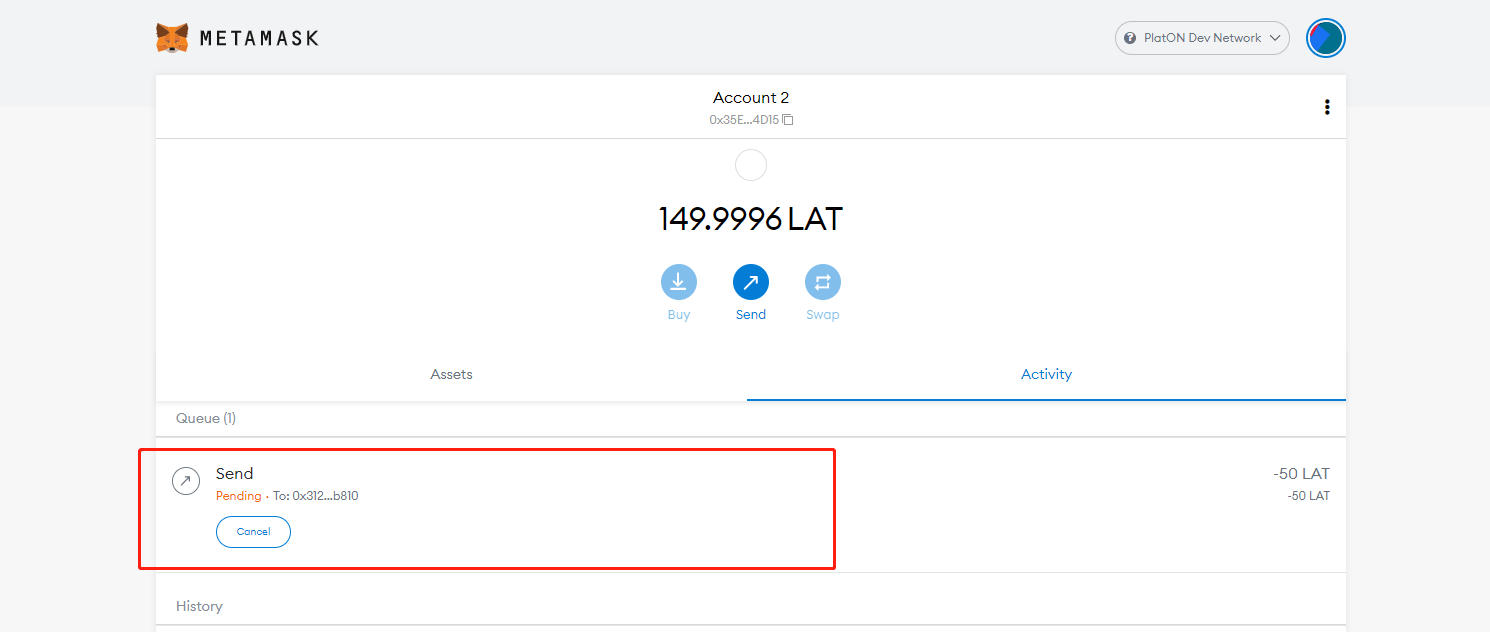
Transferring...
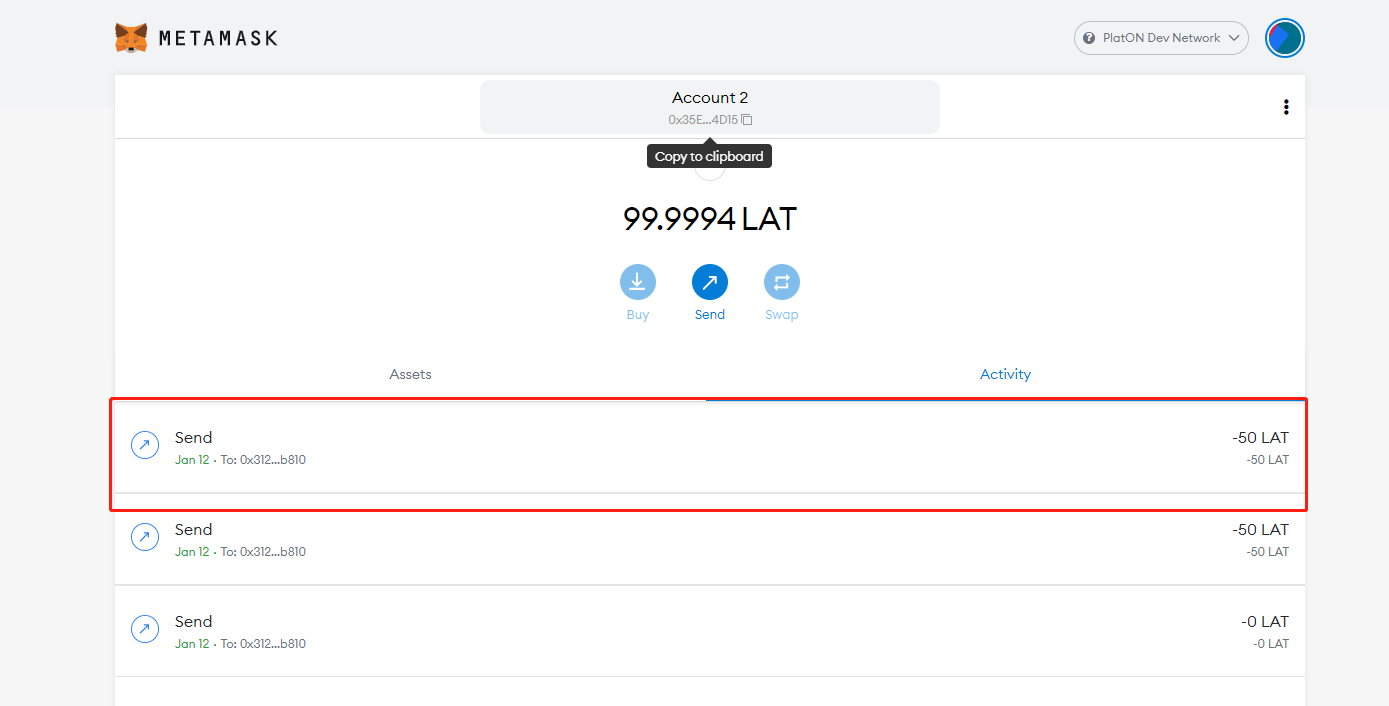
Done! 50 LATs have been transferred through the testnet. We can also see a contract interaction below, which is the interaction with the showme application.
Alaya MainNet#
By the same token, let's fill in the following information to add the network to MetaMask.
Network Name: Alaya MainNetworkNew RPC URL: https://openapi.alaya.network/rpcChain ID:201018 Currency Symbol:ATPBlock Explorer URL: https://scan.alaya.network/Other available RPC nodes on the Alaya MainNet:
https://rpc.alayascan.com (provided by itokenpool)
Successfully added:
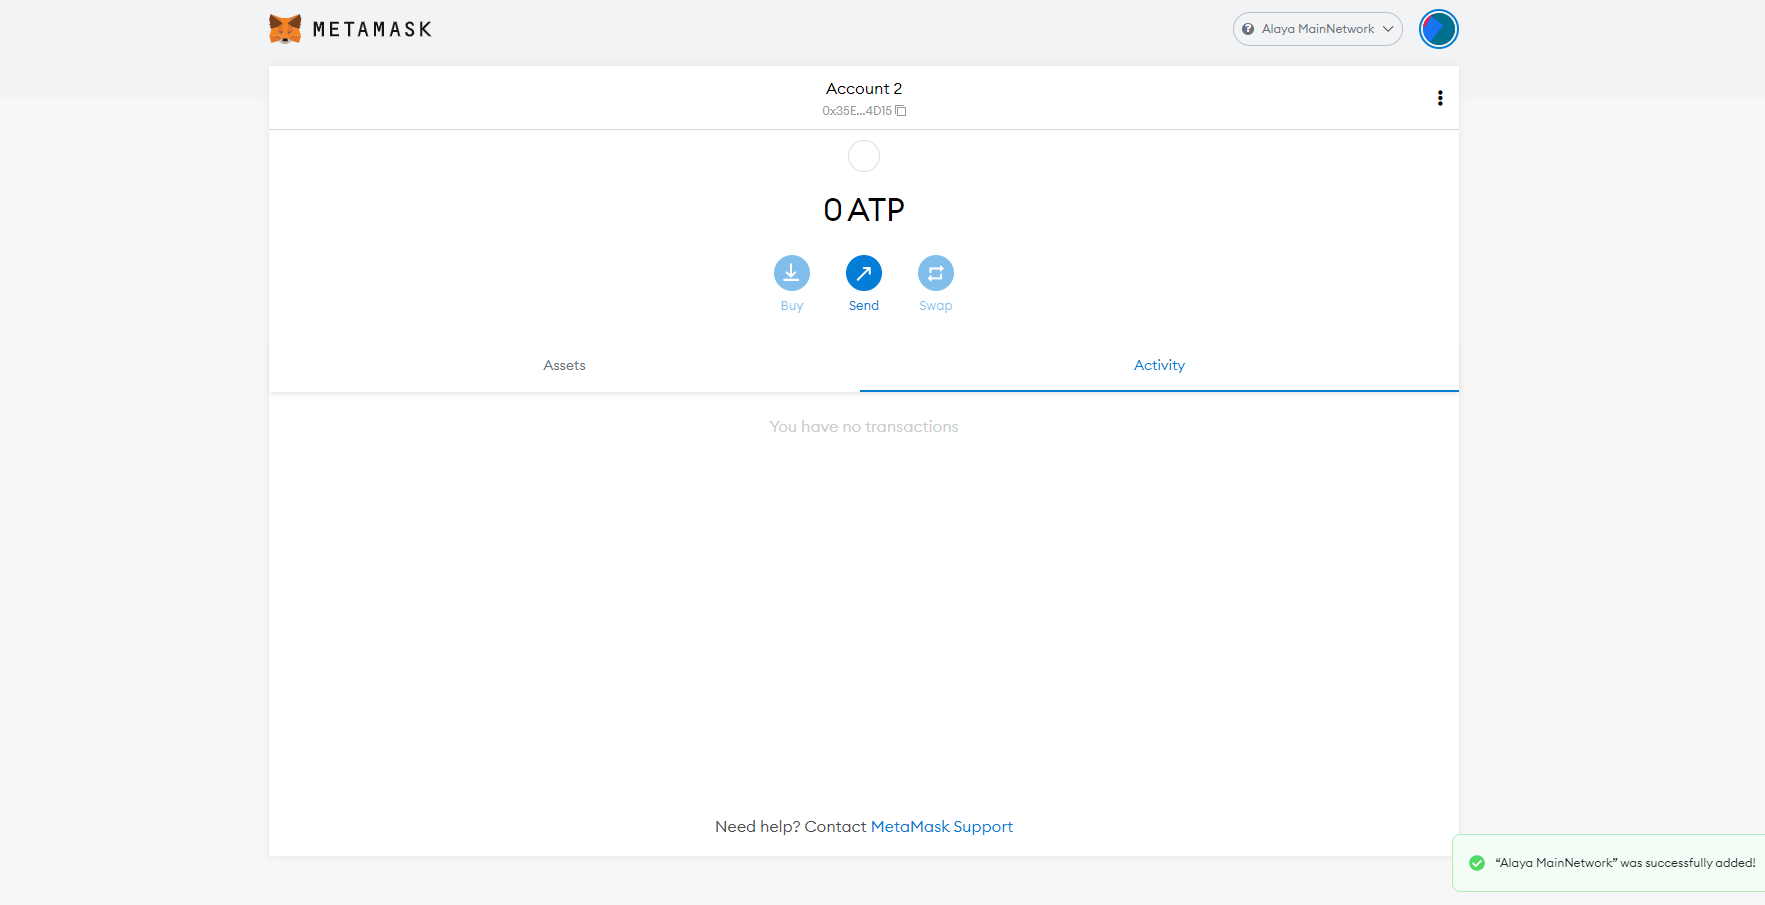
Transfer succeeds as well.
Alaya DevNet#
Fill out the form with the following information in order:
Network Name: Alaya Dev NetworkNew RPC URL: https://devnetopenapi.alaya.network/rpcChain ID:201030Currency Symbol:ATPBlock Explorer URL: https://devnetscan.alaya.network/After the information is added, create a new Alaya test wallet, and then apply for test tokens on the Alaya DevNet faucet (https://faucet.alaya.network/faucet/) to test the transfer operation.
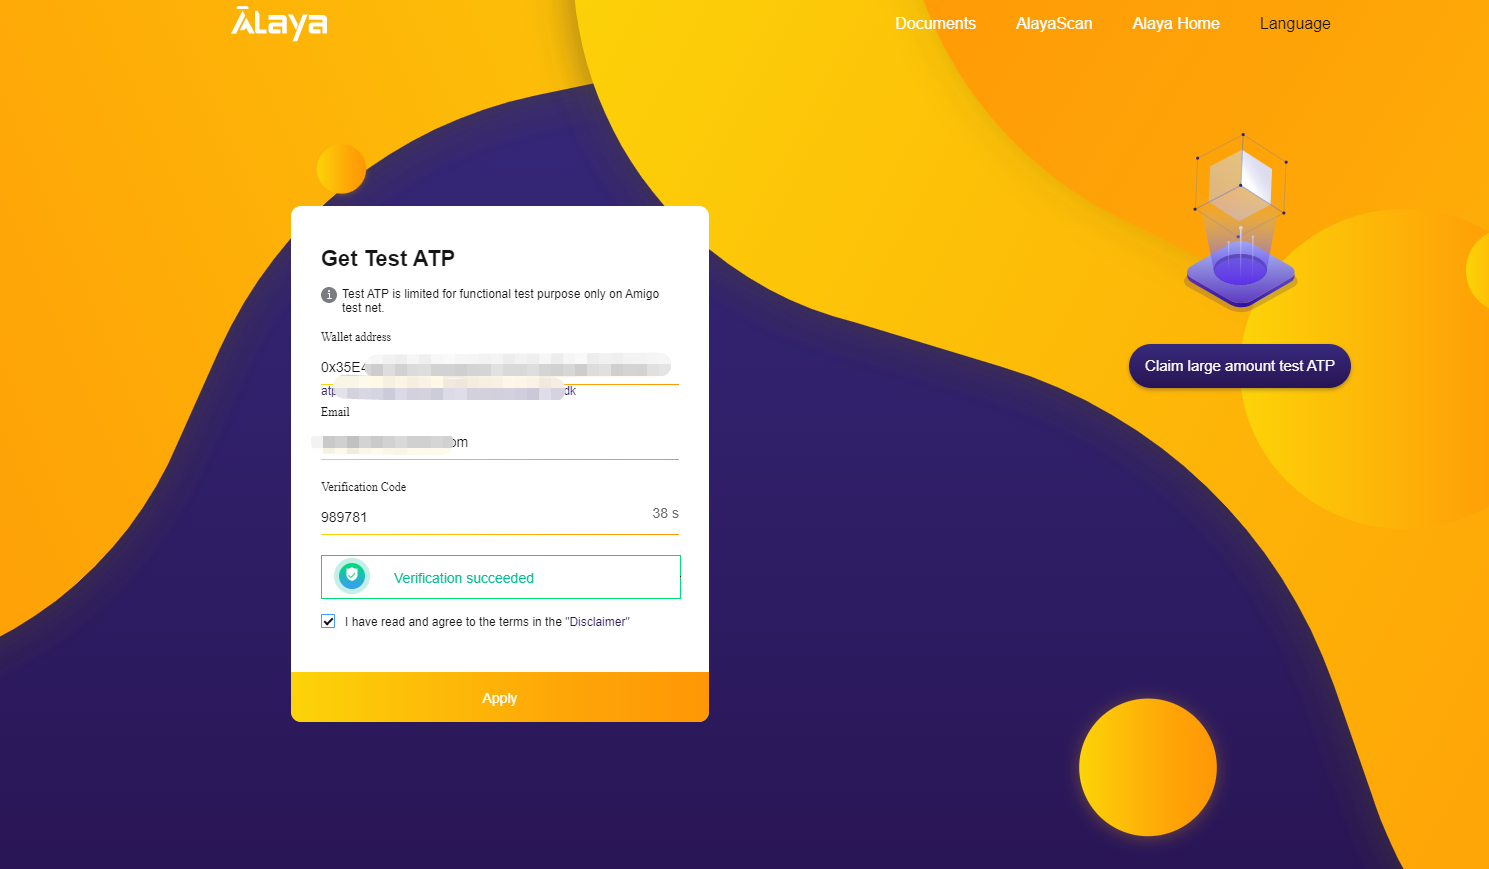
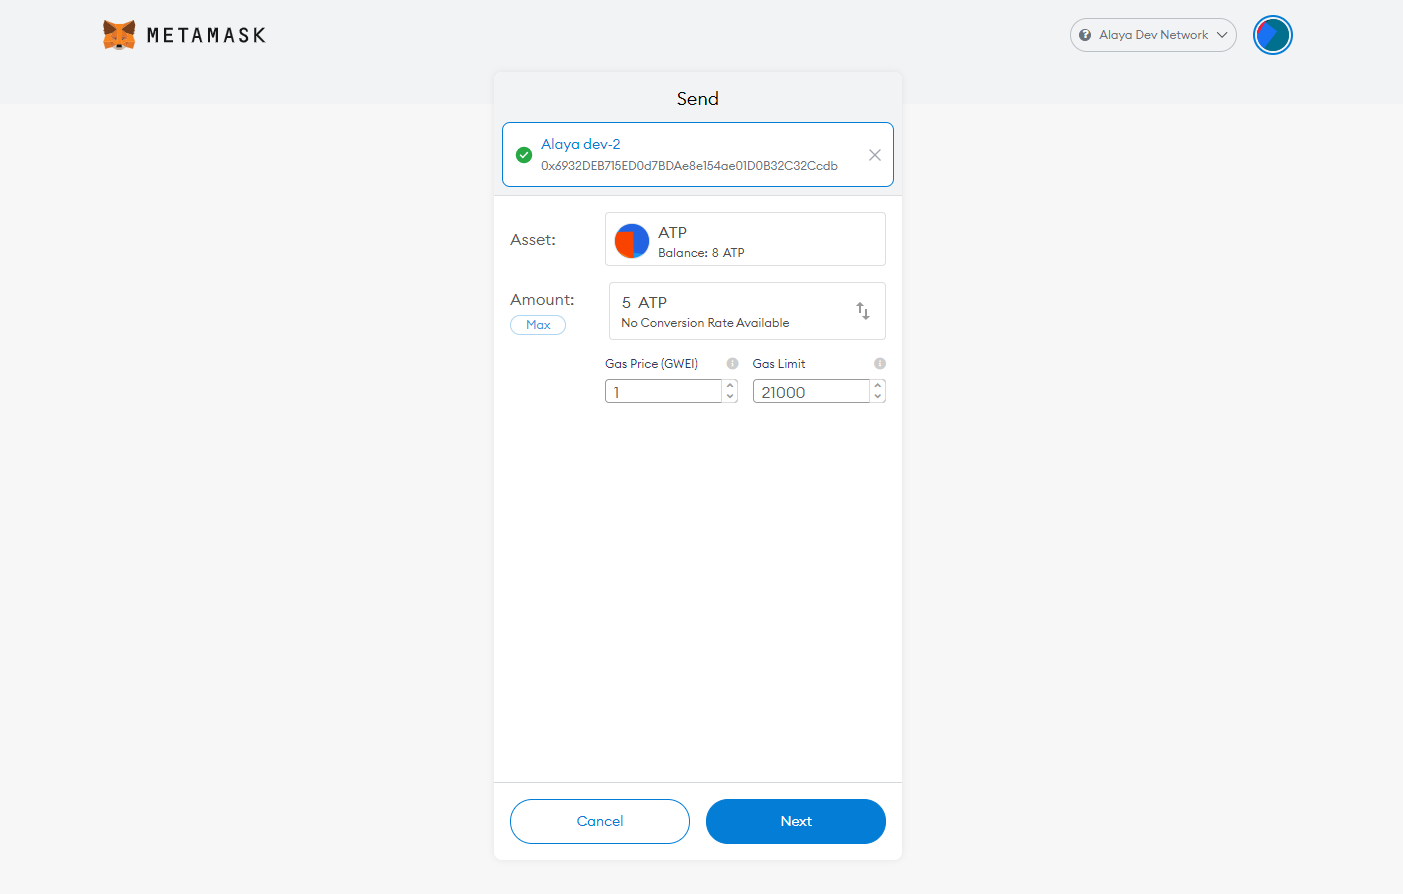
After receiving the test ATP from the faucet, we can start testing transfer:
Start transferring
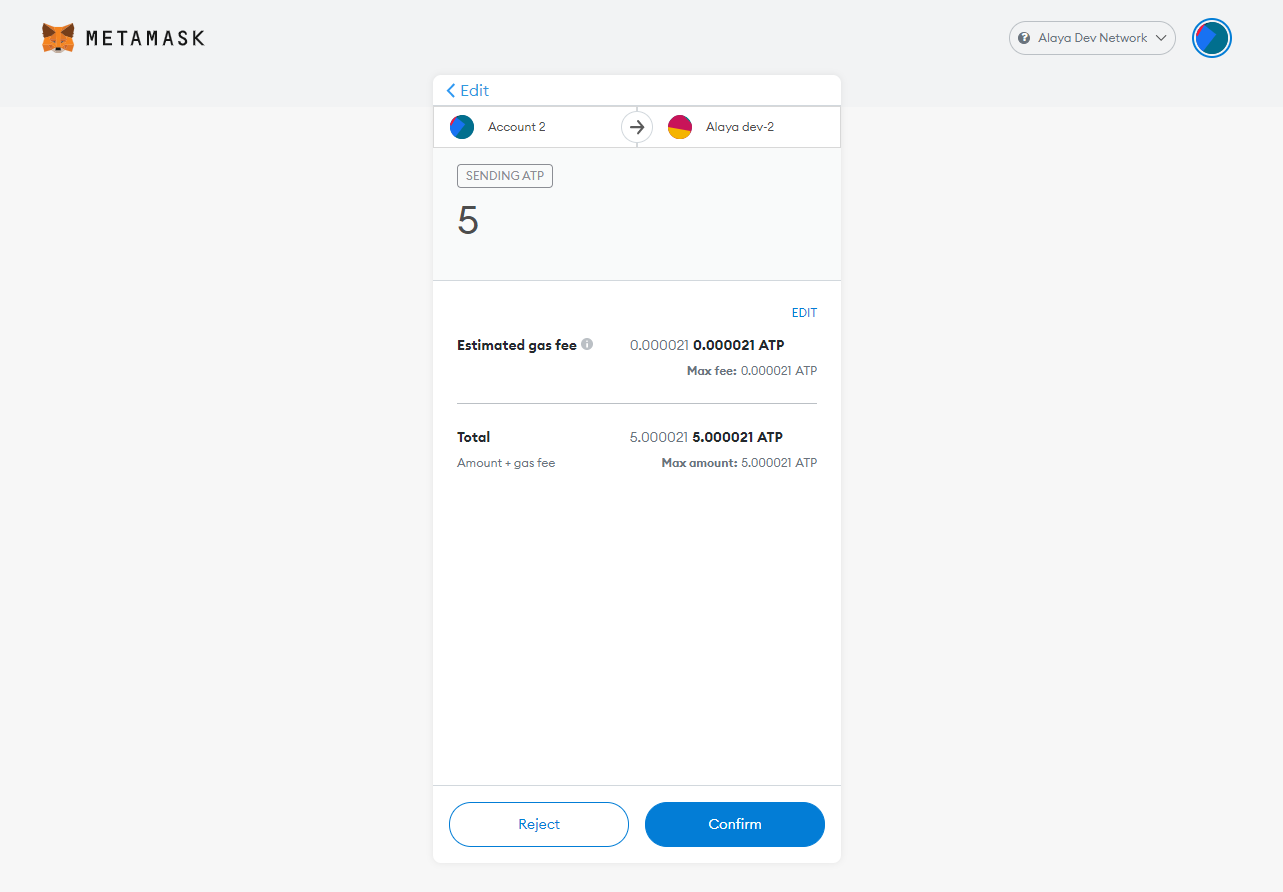
Transferring...
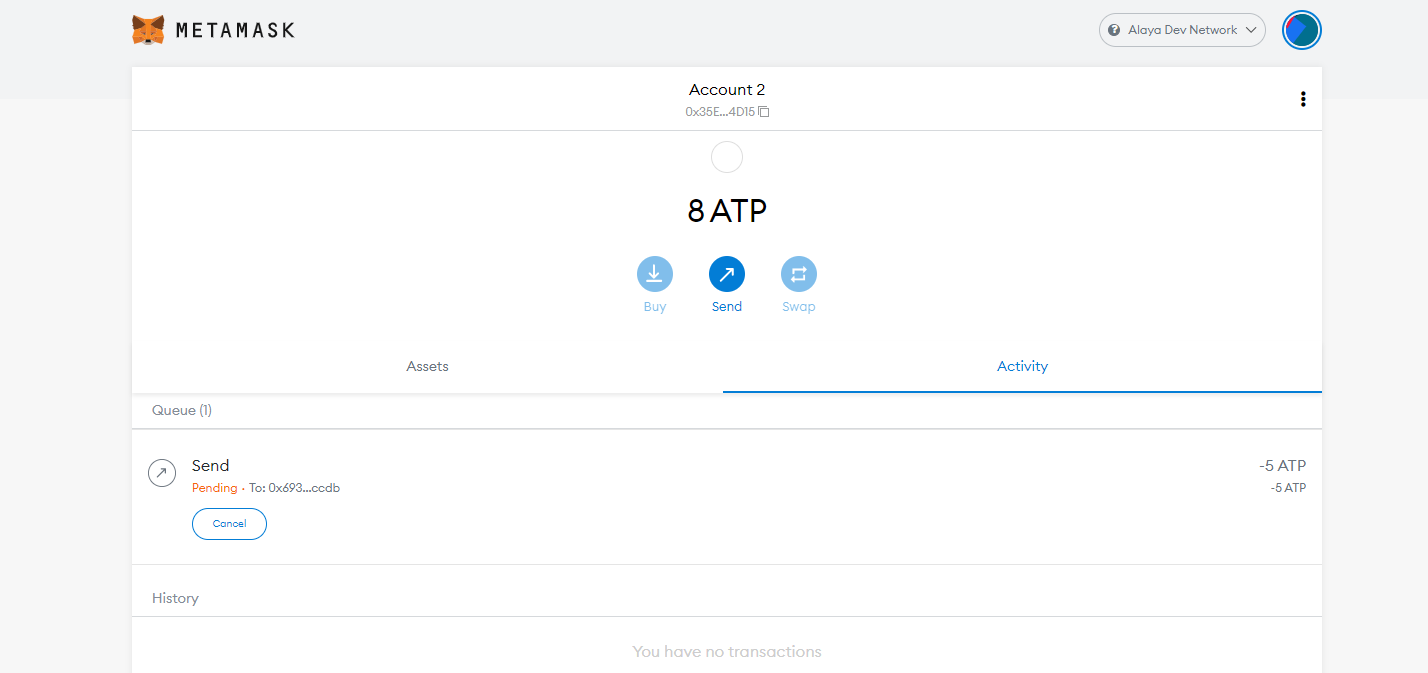
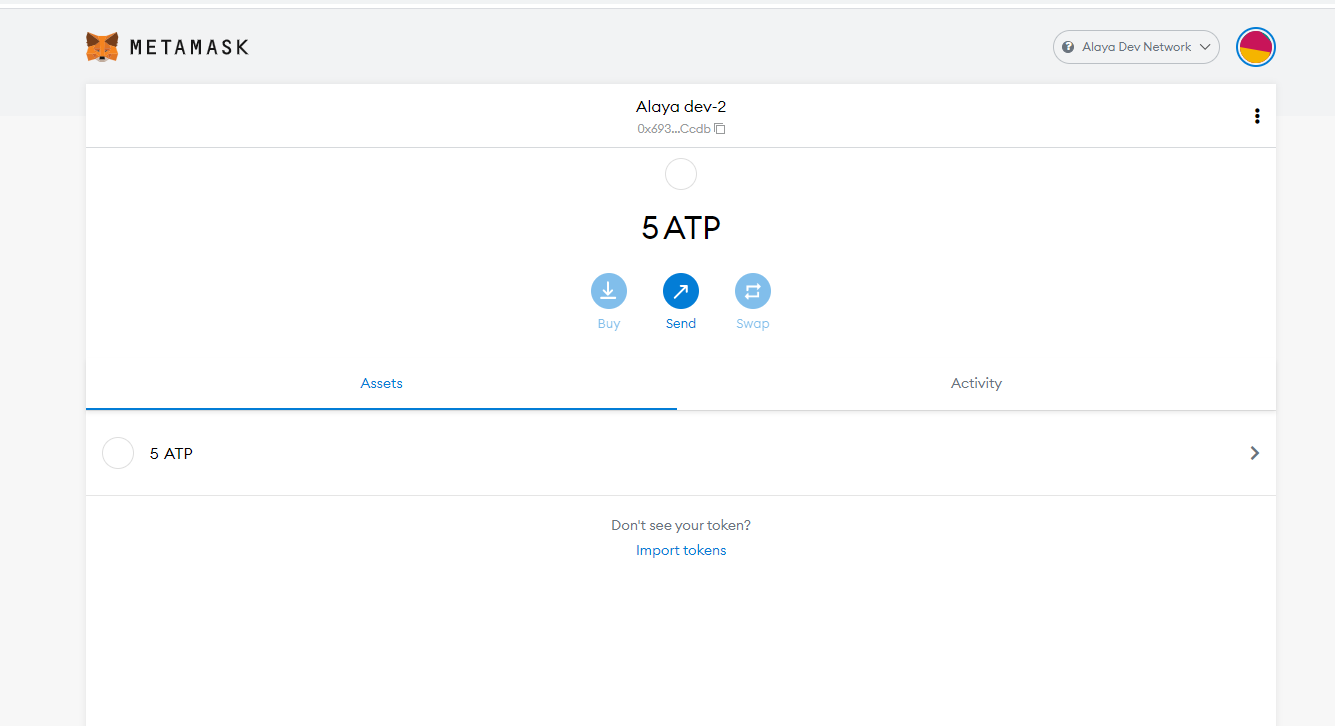
Done. Now we can see 5 ATP has been received by the Alaya DevNet-2.
Add a network using ChainList#
First, open ChainList and click "Connect Wallet" to authorize the connection to MetaMask.

Then, enter PlatON in the input box to search,
and we can see:
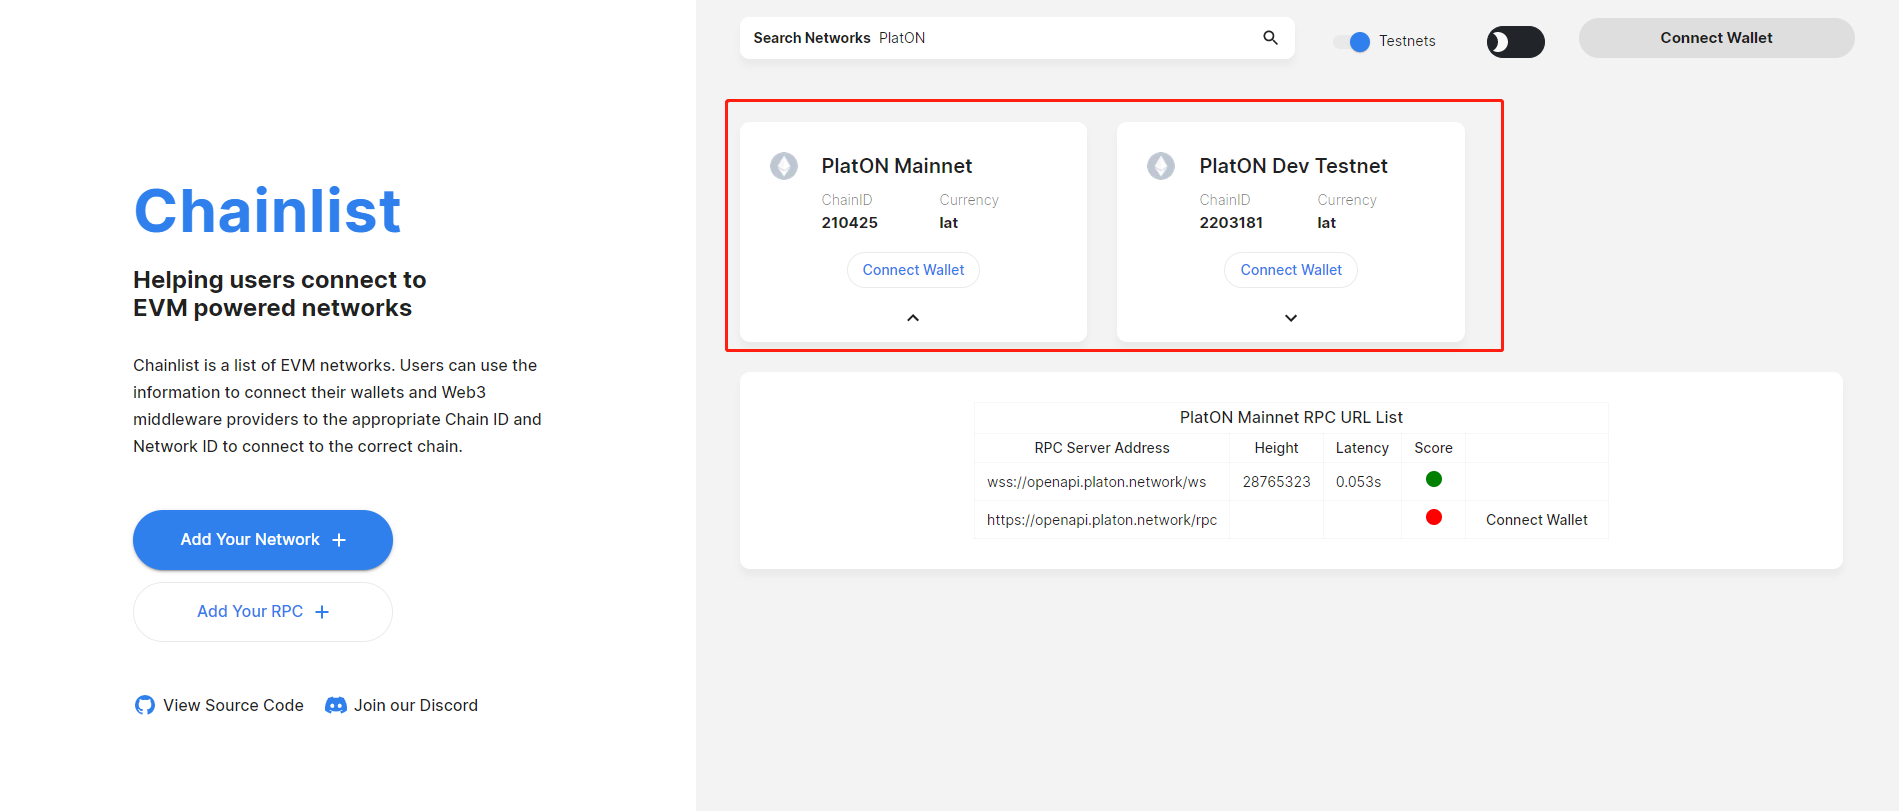
Next, click "Add tTo MetaMask" to add the network.
Then click switch network to jump to the PlatON DevNet!

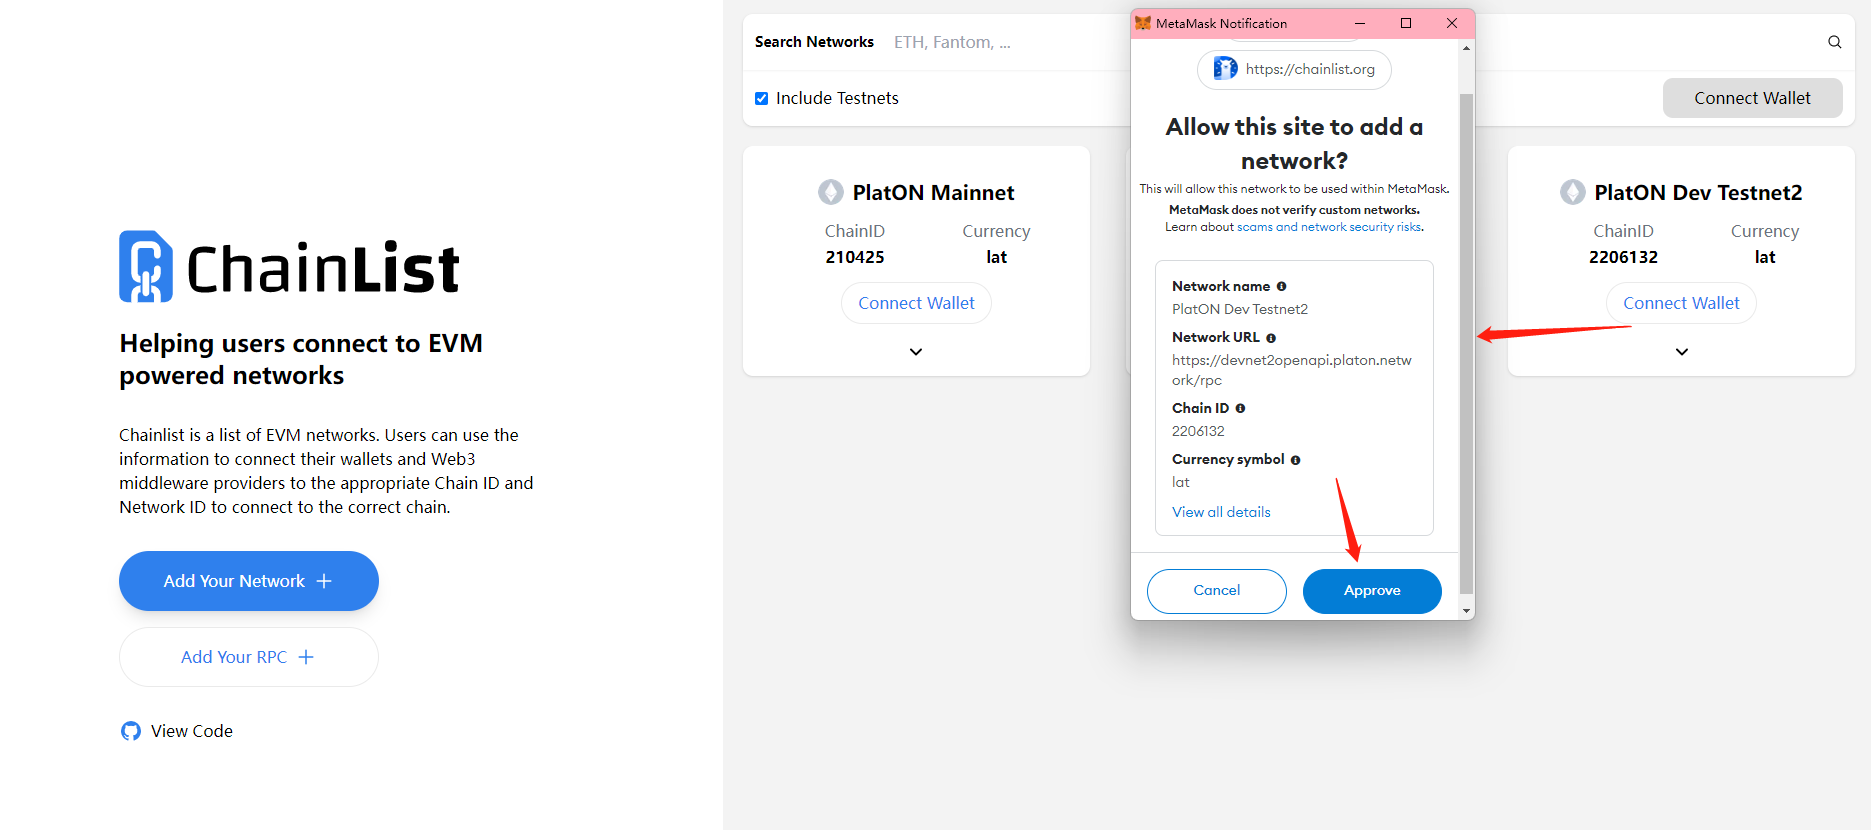
Now let's add the Alaya Dev Testnet to MetaMask in the same way.

Similarly, click Approve and then switch network. The Alaya Dev Testnet has been added.
A quick way to add MetaMask to Blockchain Explorer#
Enter the PlatON or Alaya blockchain explorer, find [MORE] in the navigation menu, click [Add to Extension], and select the network to be configured:
Blockchain explorer on the PlatON MainNet: https://scan.platon.network/add-to-extension
Blockchain explorer on the PlatON DevNet: https://devnetscan.platon.network/add-to-extension
Blockchain explorer on the Alaya MainNet: https://scan.alaya.network/add-to-extension
Blockchain explorer on the Alaya DevNet: https://devnetscan.alaya.network/add-to-extension
![[Figure-4.1.1]](/docs/img/en/MetaMask_Configure.assets/[Figure-4.1.1].png)
Connect with MetaMask in the web browser#
1) After entering the Add to Extension page in the blockchain explorer, click [Connect MetaMask].
[Prerequisite: MetaMask needs to be installed in the explorer in advance]
![[Figure-4.1.2.1]](/docs/img/en/MetaMask_Configure.assets/[Figure-4.1.2.1].png)
2) Click [Next] in MetaMask, and then click [Connect] to establish communication with MetaMask.
![[Figure-4.1.2.2]](/docs/img/en/MetaMask_Configure.assets/[Figure-4.1.2.2].png)
![[Figure-4.1.2.3]](/docs/img/en/MetaMask_Configure.assets/[Figure-4.1.2.3].png)
Add network configuration to MetaMask#
1) After the connection is successful, [Connect MetaMask] turns into [Add to MetaMask]. Click [Add to MetaMask].
![[Figure-4.1.3.1]](/docs/img/en/MetaMask_Configure.assets/[Figure-4.1.3.1].png)
2) Click [Approve] to add the network configuration to MetaMask.
![[Figure-4.1.3.2]](/docs/img/en/MetaMask_Configure.assets/[Figure-4.1.3.2].png)
3) The plug-in wallet will prompt you to switch to this network. Click [Switch Network] to switch the corresponding network for later use.
![[Figure-4.1.3.3]](/docs/img/en/MetaMask_Configure.assets/[Figure-4.1.3.3].png)
This tutorial is contributed by @LeQianQian @Dengxin46